

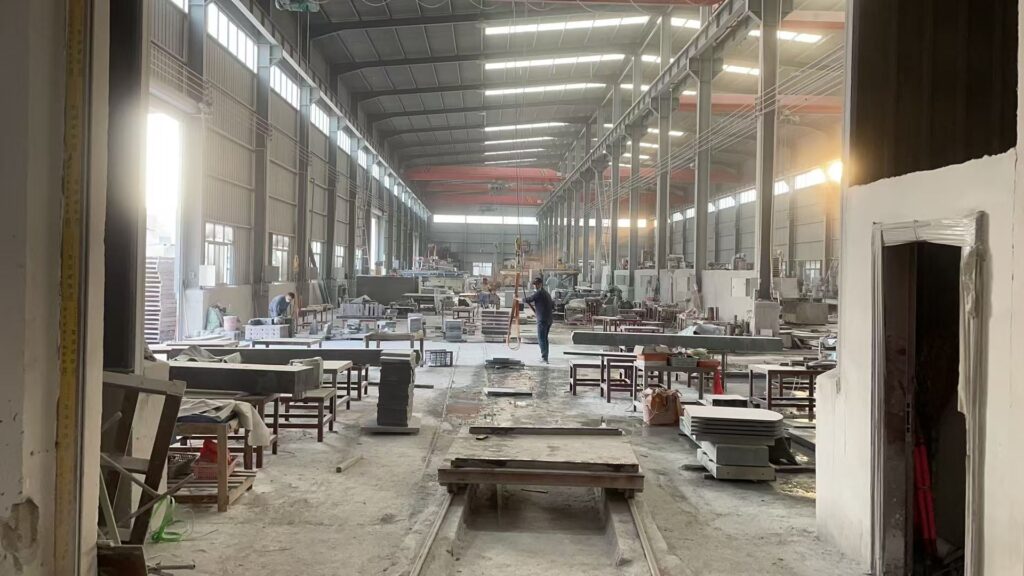
In a wholesale monument order, polished, honed and rock-pitched describe surface appearance, while codes such as P1, P2 and P5 summarize polished-face arrangements under a supplier’s convention. Dealers should confirm the finish on every face of every component rather than assuming a shorthand code defines the whole monument.
What Do Headstone Finishes and P1/P2/P5 Codes Mean?
The definitions below follow Tecstone’s basic monument finishes glossary. These are the referenced supplier’s conventions, not a universal standard.
| Term or code | Meaning under the referenced convention |
|---|---|
| Polished | A shiny surface. |
| Honed | A smooth surface without a sheen. |
| Rock pitched | A deliberately rough surface. |
| P1 | One polished face. |
| P2BRP | The front and back are polished; the top and ends are rock pitched. |
| P3BRP | The front, back, and top are polished; the ends are rock pitched. |
| P5 | All five exposed faces are polished. |
| PFTBRP | The flat top is polished; the other exposed faces are rock pitched. Specify the hidden bed separately. |
A hypothetical ambiguity illustrates the problem: a buyer requests a “P2 die” and expects a rock-pitched top. The supplier interprets the request as polished front and back with a different top finish. Both parties recognize “P2,” but they have not agreed on the whole component.
Prevent that gap by keeping the code as shorthand and adding a plain-language description. The drawing should say which faces are polished and what happens everywhere else.
How should each face be specified?
A monument assembly can contain several components with different finish requirements. If one finish note appears beside the overall drawing, the supplier may not know whether it applies to the die, base, or both. Assign the finish to each component before identifying its individual faces.
Specify the front, back, top, left end, right end, and bottom separately for every relevant component. Each entry states the required finish or references an approved detail. Also define the viewing direction, because “left” and “right” become ambiguous when a drawing includes front and rear views.
- The front has a stated finish and a clear orientation on the drawing.
- The back has its own finish note, even when it matches the front.
- The top has a defined finish across the indicated profile.
- The left end has an explicit requirement rather than an assumed match.
- The right end has the same level of detail as the left.
- The bottom or bed has a separate requirement and is not automatically included in exposed-face polishing.
- Any local exception has a leader, boundary, or detail view showing where the finish changes.
Define left and right as viewed from the front unless the project drawing establishes another convention. The important point is agreement, not a particular labeling preference.
A Hypothetical Finish Note
The die front and back shall be polished. The Serp Top and both ends shall be rock pitched. The bottom bed finish shall follow the separately approved component detail. These notes apply to the die only; the base has its own finish schedule.
A finish schedule communicates appearance and surface coverage. It does not establish whether a base, joint, or foundation arrangement is suitable for a particular installation.
Give the drawing a revision identifier. When a buyer changes one face, the purchase order, approval record, and inspection reference should point to the same revision. Otherwise, a clear specification can still become an unclear order.
What should be checked before approving an order?
A granite name identifies the material being offered; it does not define the finish on every face. Conversely, “polished granite” does not identify the granite.
- The material entry identifies the agreed granite and relevant supplier reference.
- The finish entry identifies each face’s required surface treatment.
- The appearance reference identifies the approved sample or other agreed visual benchmark.
- The drawing entry identifies the current approved revision.
For a texture-sensitive order, check whether the sample represents the specified granite and requested finish. A polished sample alone cannot demonstrate the appearance of a honed face or rock pitch edges.
Also ask the supplier to explain the sample’s scope. Does it represent one surface only? Does it show a transition between polished and textured areas? Does it belong to the same material reference as the quotation?
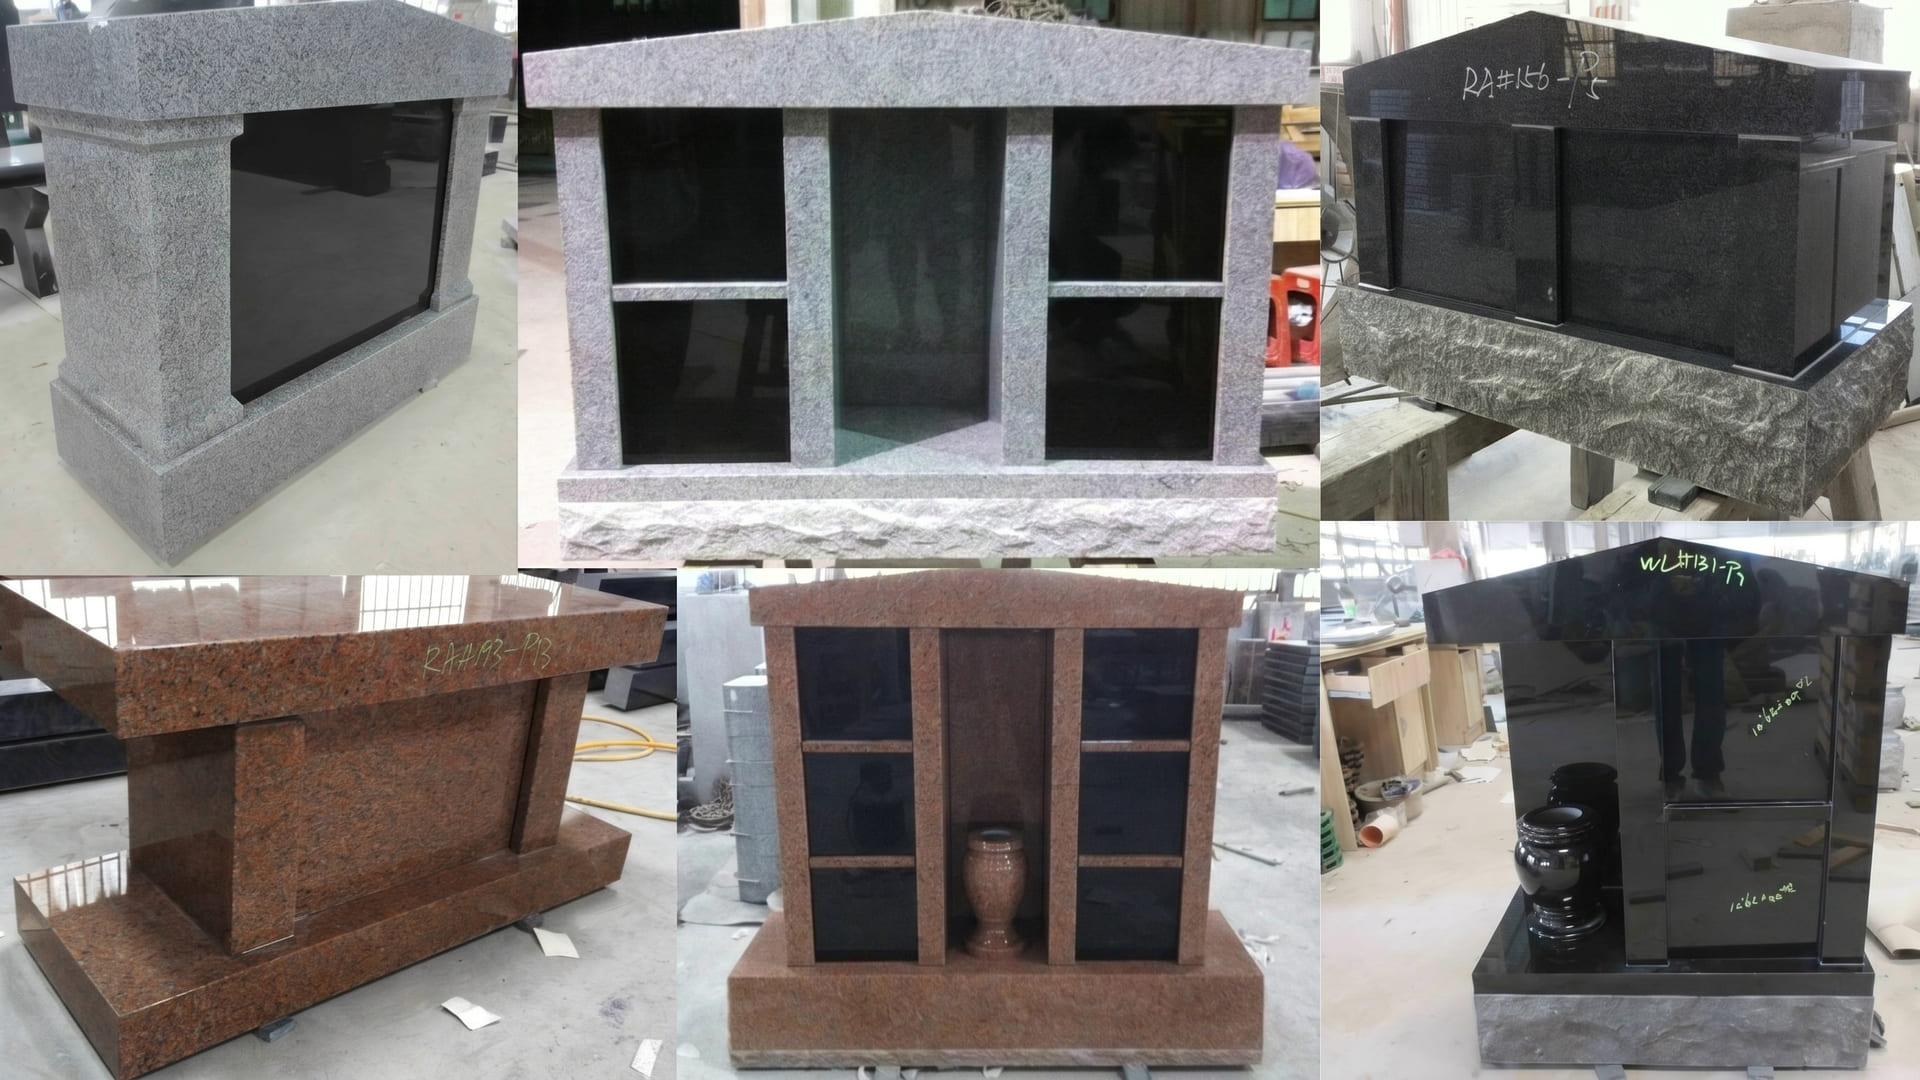
Before approving production, check that the supplier has acknowledged the complete finish schedule. Before accepting inspection evidence, check that the images and records identify the relevant order and components.
Check whether all specified faces are visible or otherwise documented, whether finish transitions match the drawing, and whether any departures have written approval. An attractive front view should not become evidence for an unseen back or bottom.
For a shorter preliminary review, use the granite and finish checklist. This detailed glossary supports the next step: turning that checklist into an order-specific record that both parties can evaluate consistently.
For a trade quotation, send the granite selection, component drawings and finish requirements.